After completing this lesson, students should understand the following concepts:
- Conductors vs. insulators; resistance
- Open circuits vs. closed circuits; short circuits
- Series circuits vs. parallel circuits
Procedures
Mentors must prepare batches of conductive and insulating dough ahead of time. Each recipe above makes enough dough for 2 groups of 4-5 students.
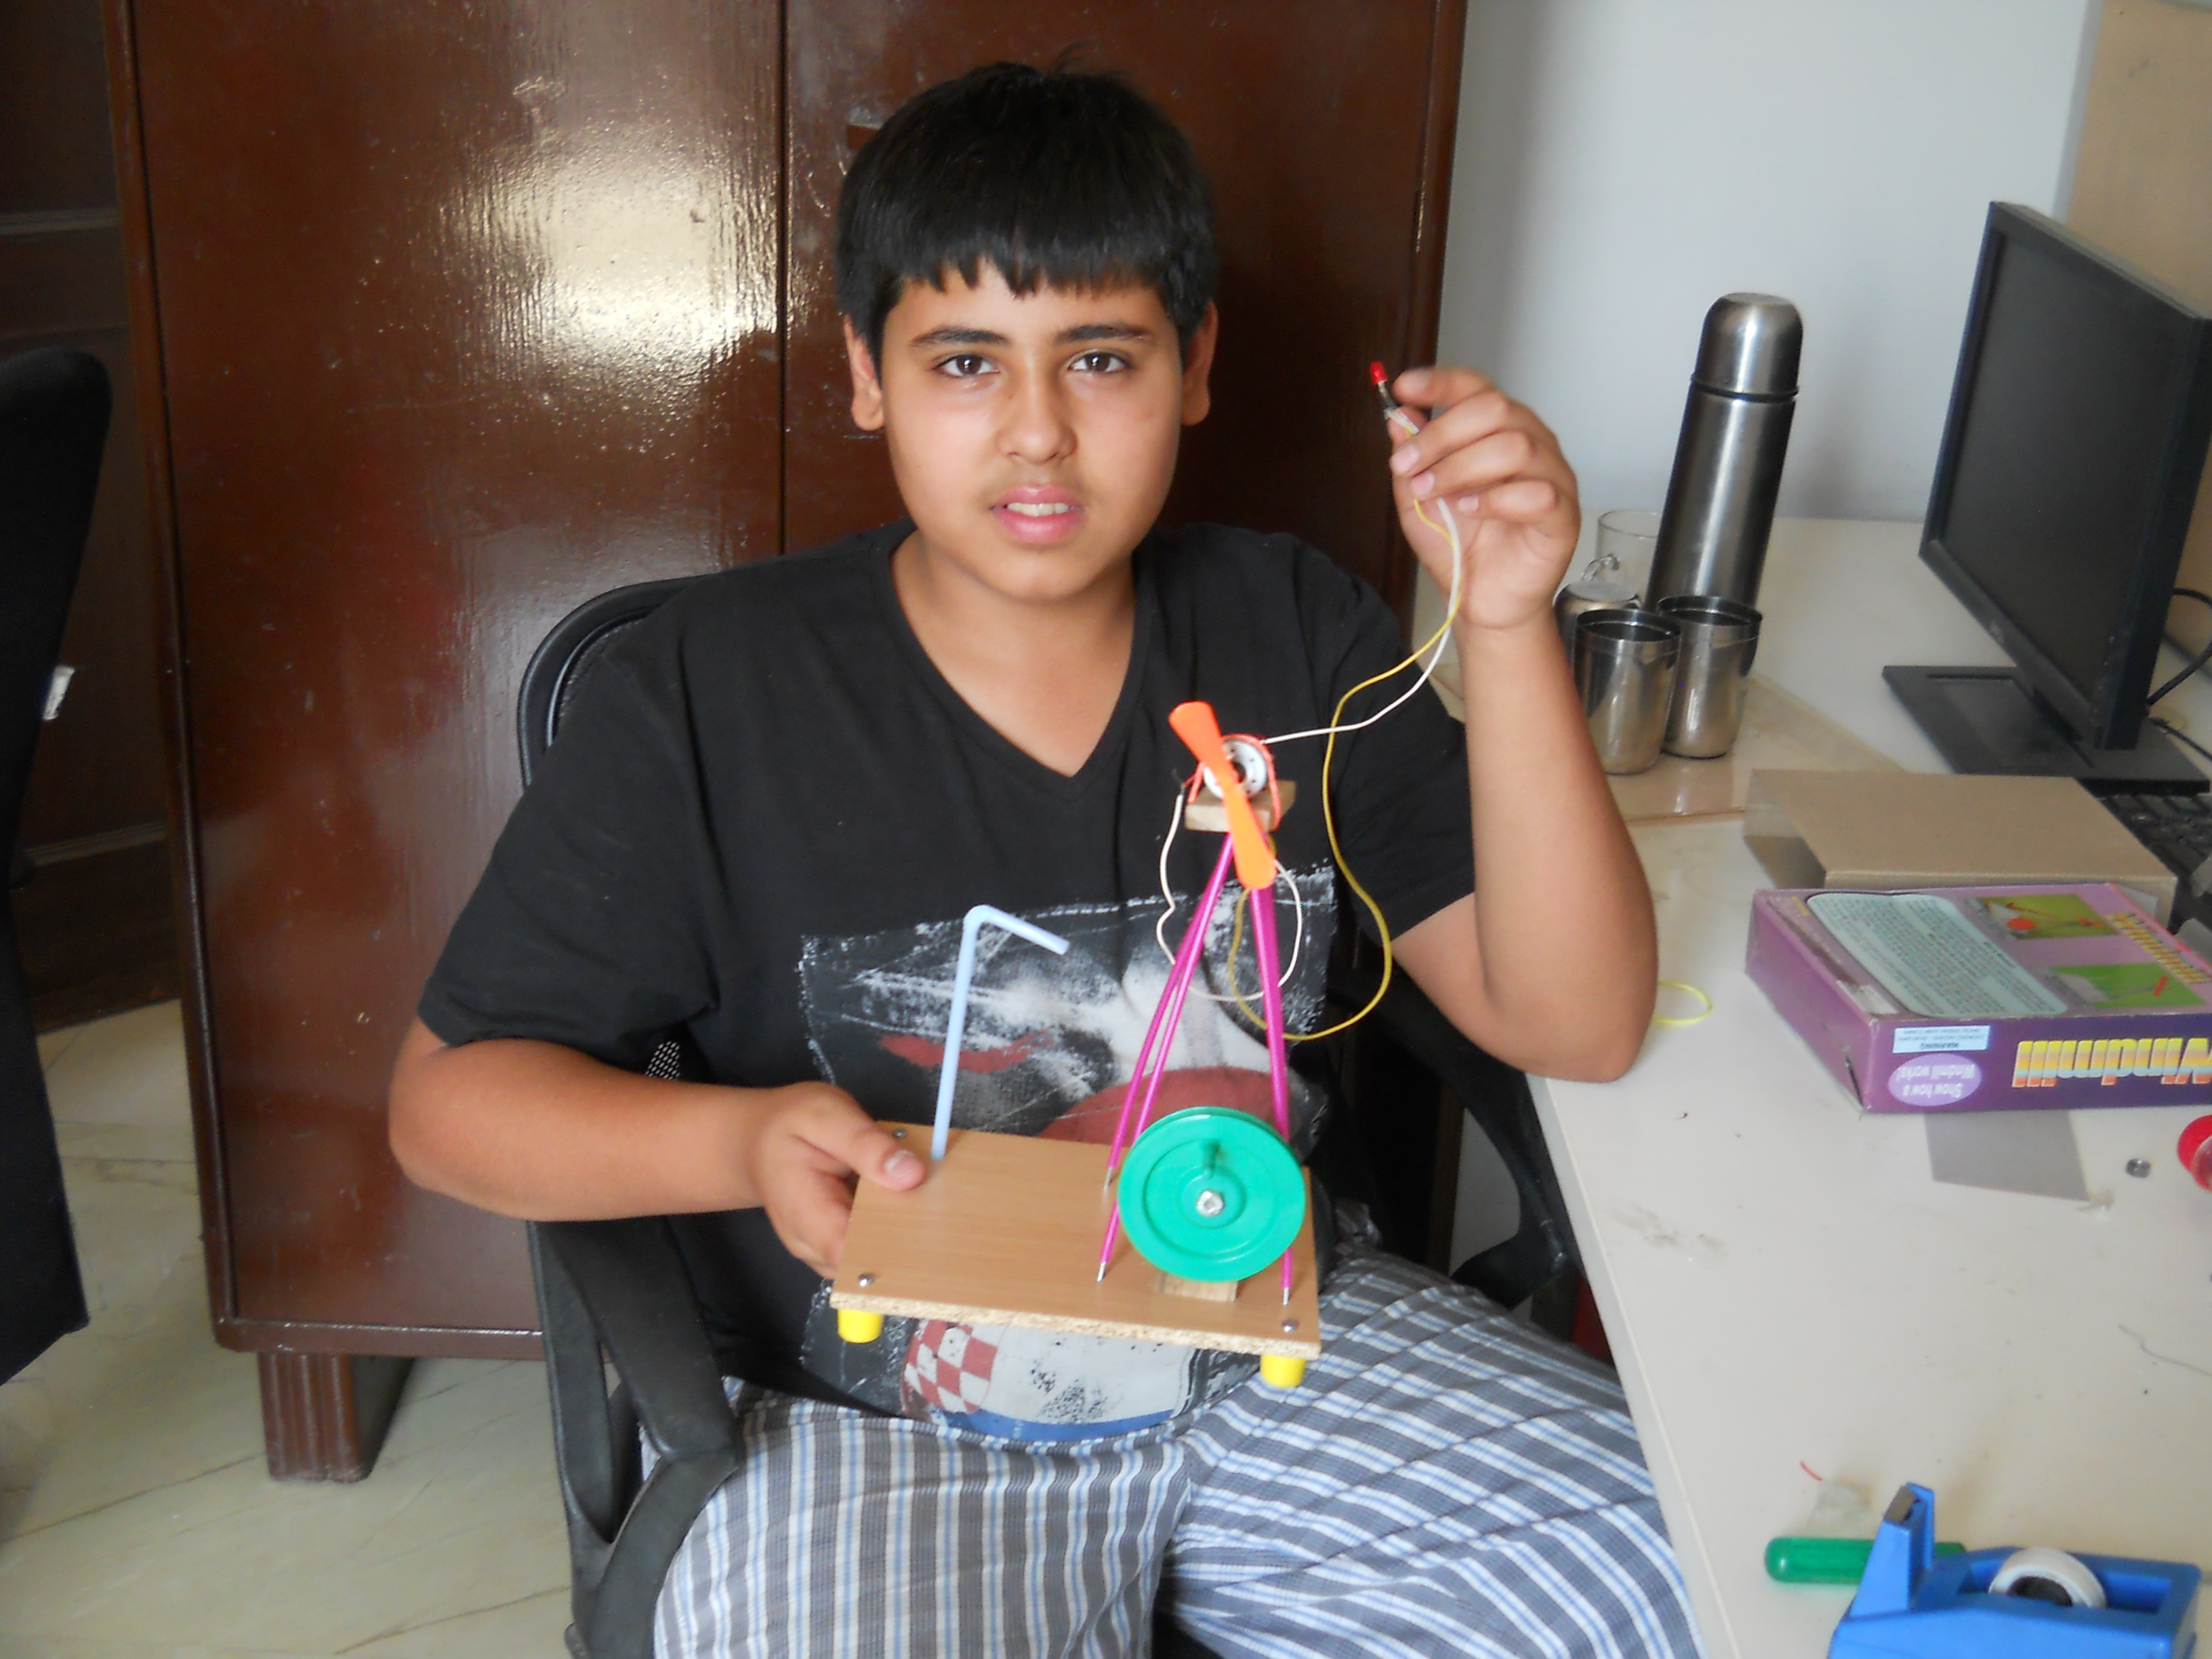
Phase 1 (10 min): Students use the attached worksheet to build simple circuits to understand fundamental concepts of circuits.
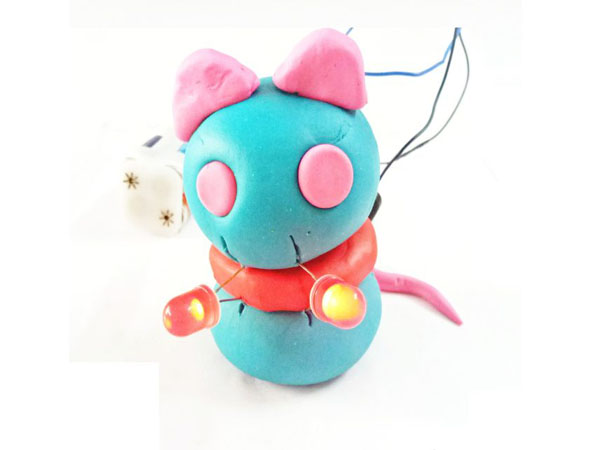
Phase 2 (20 min): Students design and build their own circuits. For example, they can build circuit sculptures. First, have the students sketch their designs on paper. Then, they can build and test their designs.
- Discuss which types of circuits worked and which didn’t.
- What is the difference between a series and parallel circuit?
- Why does one dough conduct electricity and the other doesn’t?
- Don’t connect the 9V battery directly to the LED, it may burn the LED out.
- Try not to mash the two types of dough into each other. This makes it difficult to separate them for future classes.
- The LED only works in one direction. This is called polarity. Notice how one “leg” of the LED is slightly longer than the other one. The longer leg should always be attached to the positive (red) wire from the battery.
- Sometimes, thin strands of insulating dough will still conduct some electricity, and the LED will become dimly lit. If this happens, use it as an opportunity to discuss resistance!
- Don’t cross the wires on the battery connectors – this will short out the battery! It may heat up and explode.
- Warn students to always be careful when experimenting with electricity. High voltages and high currents can be deadly. For example, they should never stick wires or other objects into wall sockets. It’s best to always do these activities with adult supervision.